


Vegan Pumpkin Pie Bars by @what.shes.cooking
Guest recipe by @what.shes.cooking
What's better than a bite-sized portion of pumpkin pie that's (technically) healthy enough to eat for breakfast? I love using oatmeal crusts in desserts since they offer a great alternative to flour and are gluten-free. Being from New England, I'm also a huge fan of everything pumpkin once September 1st hits. These vegan pumpkin pie bars are great to serve at a potluck, Friendsgiving or even just to keep in your fridge or freezer for when a sweet tooth arises. Enjoy!

Vegan Pumpkin Pie Bars
Ingredients:
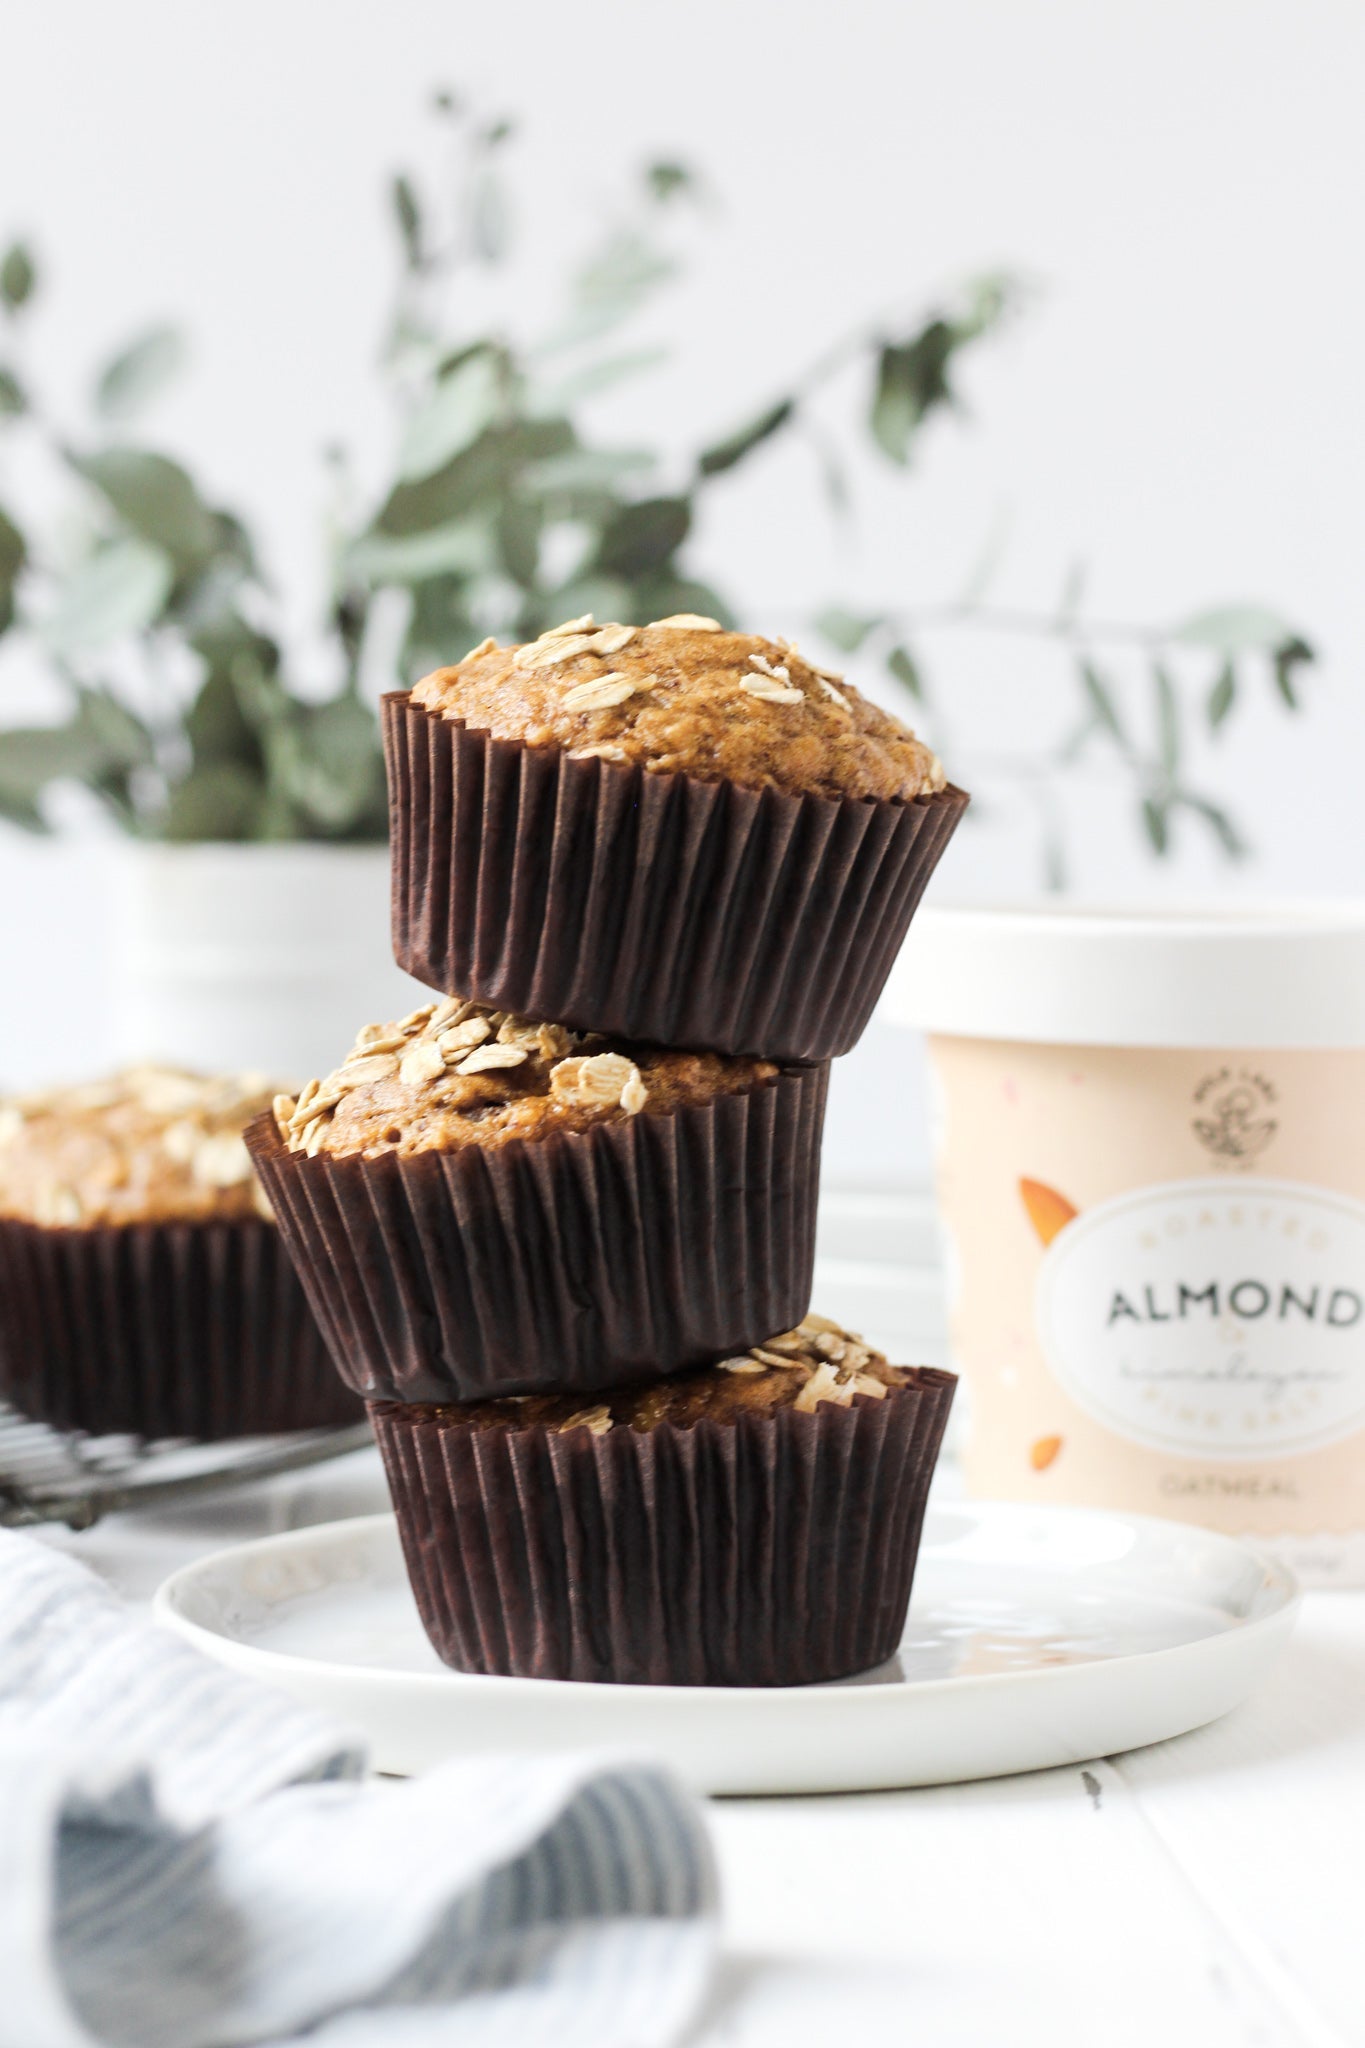
Crust:2x Mylk Labs Roasted Almond & Himalayan Pink Salt Oatmeal 1 cup almond flour 1/4 tsp sea salt ¼ cup melted coconut oil + 2 tbsp 3 tbsp maple syrup
2 cans of unsweetened pumpkin puree (NOT the pre-sweetened pumpkin pie mix) ¼ cup coconut cream (can also use full fat coconut milk) 3 tbsp cornstarch ¼ cup maple syrup ¼ cup coconut sugar ¼ tsp sea salt 2 tsp pumpkin pie spice 1 tsp vanilla extract
Directions:
- Preheat oven to 350 degrees F and line an 8x8 baking dish with parchment paper
- Add the two oatmeal cups to a food processor and mix until it resembles the consistency of flour.
- Add the almond flour and salt and blend again. Then add in the melted coconut oil and maple syrup. Pulse in the mixer until it looks to be a crumbly consistency. It should stick together well if you press down on it.
- Add the crust to the baking dish and press down until it is evenly dispersed and as flat as you can possibly make it.
- Bake the crust for 20 minutes and then once done, let it cool for 20-30 minutes.
- While its cooling, make the filling. Add all of the filling ingredients to the food processor and blend until completely smooth. Taste test and adjust as needed, adding more maple syrup or spices to your liking.
- Once the crust is completely cooled, carefully pour the filling mixture on top of the crust. You can gently tap the dish on the counter to make sure that there are no air bubbles or pockets.
- Bake for 50 minutes. The filling will get slightly darker in color on the top and may have a few cracks in it – this is ok!
- Remove the dish from the oven and let it completely cool before putting it in the fridge. Ideally you want these to cool and set overnight but 5-6 hours will do the trick.
- When ready to serve, lift the bars using the corners of the parchment paper and then cut into squares.
- Top with dairy-free ice cream or whipped cream (or eat them plain) and enjoy! Leftovers will be best within 3 days – but these can also be put in the freezer too!
Make sure to tag @mylklabs #NutsForOats for a chance to be featured!
 Dana is a Certified Holistic Health Coach through the Institute for Integrative Nutrition and the voice behind What She's Cooking. She lives in Boston, MA and loves to create healthy versions of her favorite comfort foods. She can be found on her Instagram at @what.shes.cooking and on Instagram @what.shes.cooking.

%20healthy%20enough%20to%20eat%20for%20breakfast?%20I%20love%20using%20oatmeal%20crusts%20in%20desserts%20since%20th...)
Leave a comment
This site is protected by hCaptcha and the hCaptcha Privacy Policy and Terms of Service apply.